1. Centre the subject - The main focus (faces, text, or key objects) should be in the centre of the photo.
- Avoid placing important details near the edges, as they will be cropped out.
This image shows the ideal style of photo to submit. |  |
2. Ensure there is enough background for the bleed area - Round magnets require a large “bleed area” that wraps around the back—this area won’t be visible.
- Keep essential elements well within the central safe zone.
This image shows the area of the photo that will needed for manufacturing. This will not show on the finished magnet. |  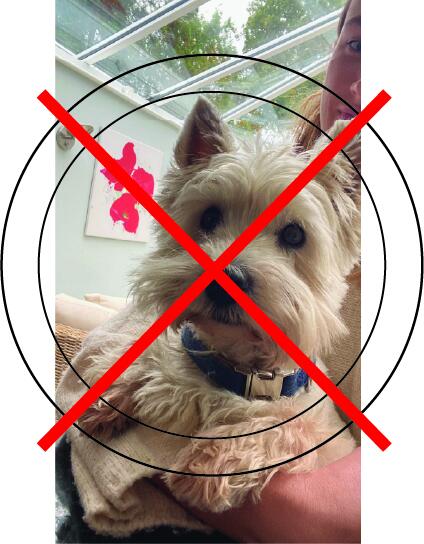 |
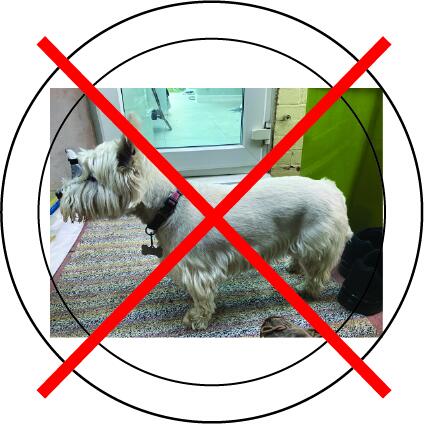
3. Check the corners- The corners of square or rectangular photos will be the first to get cut off.
- Make sure nothing important is positioned there.
|  |
4. Visualise the round crop- Use a round template (or even a circular cut out) to preview how your photo will look once cropped.
This image shows the area of the photo that will show on the finished magnet. |  |
5. Prioritise quality - Use clear, high-resolution images—blurry or pixelated photos/images will not print well.
- Consider the lighting - well lit photos give the best result
|